
Uncategorized
Summer Solstice Garden Check: What To Correct Before July
The summer solstice is a useful checkpoint in the garden because it arrives when the season starts to change tone. Spring establishment is mostly behind
No matter how experienced you are as a gardener, grower, or lawn care enthusiast, one of the most important steps you can take for long-term success is soil testing. But even the best soil test won’t help if your soil sample is collected incorrectly. In fact, inaccurate sampling is the most common reason growers get misleading recommendations—and make costly mistakes as a result.
This guide will walk you through how to collect a soil sample the right way. Whether you’re testing a backyard vegetable garden, a landscape bed, or a full acre of turf, your results are only as good as the soil you send in. When you know how to take samples properly, your test results will reflect the true condition of your soil—and give you a clear plan of action to improve plant health, productivity, and resilience.
Before we get into the step-by-step process, it’s important to understand why careful soil sampling is so critical.
Your soil isn’t uniform. Nutrient levels, organic matter, moisture, compaction, and pH can vary even within a small area. If you only test one random spot or sample too shallowly, you could miss key information—like a phosphorus deficiency that’s hurting root development or a pH imbalance that’s blocking nutrient uptake.
Accurate sampling allows you to:
Soil testing is not just about seeing what’s wrong—it’s about building a data-driven roadmap for healthy soil over time.
Soil sampling can be done any time the ground is workable, but certain windows are better than others.
Best Times to Sample
Avoid Sampling
A little planning goes a long way. Sampling too early or too late can make your test results less reliable.
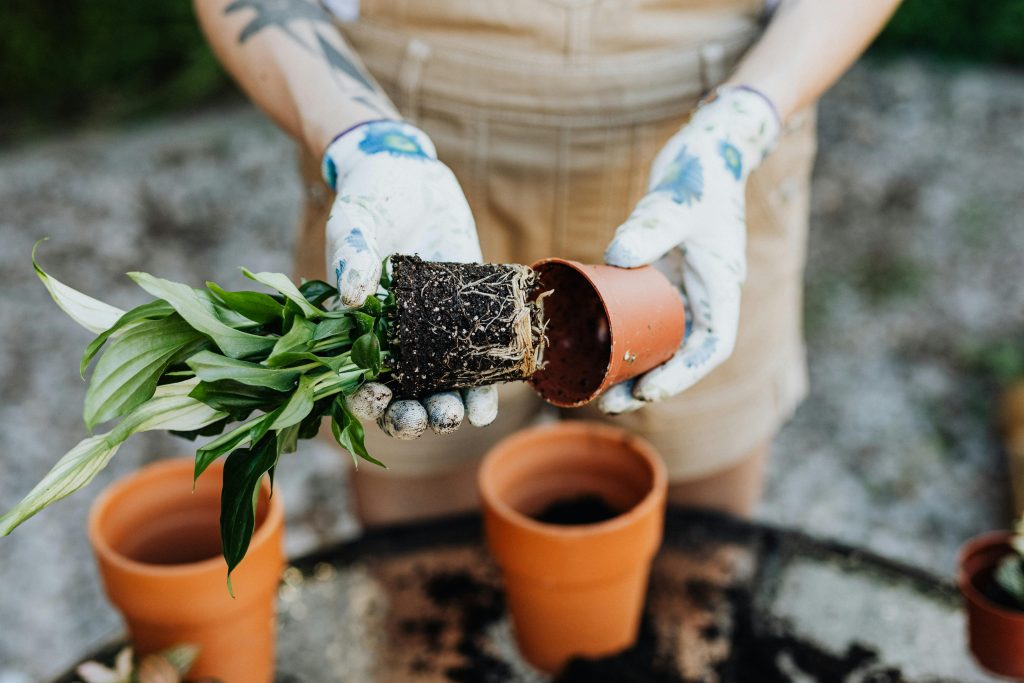
You don’t need any expensive equipment to take a quality soil sample. Most of the tools you need are already in your garage or garden shed.
Avoid using metal containers or tools that have rust or fertilizer residue on them, as these can contaminate your sample and alter the test results.
Step 1: Identify Your Sampling Zones
The first step is deciding how many different soil samples you need to collect. Don’t assume your entire property is uniform. Divide your landscape or property into zones based on:
Each distinct area should be sampled and tested separately. For example, your lawn might be one sample, your raised beds another, and your orchard a third.
Step 2: Prepare the Area
Avoid sampling near:
Remove surface debris like leaves, mulch, or grass clippings before collecting the sample. This ensures you’re only testing the soil, not decaying organic matter that will skew results.
Step 3: Collect Subsamples
For each zone, take 10–15 subsamples in a zigzag pattern across the area. This helps average out inconsistencies and gives the lab a representative picture of that section’s soil.
Try to take similar-sized cores or scoops each time for a more accurate composite.
Step 4: Mix the Sample Thoroughly
Once all subsamples are collected, mix them together in the bucket. Break apart clumps and remove any stones, roots, or foreign material. The result should be a uniform mixture that represents the entire zone.
Step 5: Dry the Sample
Most labs recommend air-drying the soil to prevent microbial changes that affect nutrient readings. Spread your mixed sample on clean newspaper or cardboard indoors at room temperature. Let it dry for 24–48 hours. Do not use heat or direct sunlight, as this can alter nutrient content.
Step 6: Package and Label
Fill the sampling bag or a plastic resealable bag with about 1 to 2 cups of the dry soil. Label clearly with:
If submitting multiple samples, keep a log of which area each bag corresponds to.
Step 7: Submit to a Soil Testing Lab
Send your sample(s) to a reputable agricultural testing lab. Most universities, local extension offices, and commercial labs offer soil testing services. Be sure to include:
Depending on the lab, you’ll receive results in 1–2 weeks along with interpretation and recommended amendments.
As a rule of thumb:
The more specific your sampling, the more targeted your treatment plan can be.
Taking shortcuts in the sampling process leads to poor-quality data—and wasted fertilizer, money, and time down the line.
A good lab report should include:
Don’t just look at what’s “low” or “high.” Consider how nutrients interact. For example, too much potassium can block magnesium uptake. A slightly off pH can make phosphorus unavailable even when it’s present.
Sandy Soils
Clay Soils
Loam Soils
Acidic or Alkaline Soils
Once you’ve sampled and tested your soil, you’re ready to create a plan. Use the results to:
Retesting every 2–3 years keeps your soil data current and helps you fine-tune your amendment strategy over time.
If you’re unsure how to take samples or interpret your soil test results, we’re here to help. Supply Solutions LLC offers expert support in building complete nutrient plans tailored to your soil test findings. We can help you choose between fish-based fertilizers, synthetic blends, micronutrient additives, and pH correctors based on what your soil really needs.
Reach out today to start your soil journey with confidence.
Contact us through our form: https://www.mysolutionssupply.com/contact-us
Visit our Facebook page: https://www.facebook.com/SupplySolutionsLLC
Call us directly at 503-451-1622
Or send us an email: sales@mysolutionssupply.com
The summer solstice is a useful checkpoint in the garden because it arrives when the season starts to change tone. Spring establishment is mostly behind

June is when many fruiting crops begin asking a different question. In spring, the question was often whether the plant could get established. Could the
Give us a call or visit our store, and we’ll help you find the right solution for your business.
© Supply Solutions LLC 2026