Getting a soil test is one of the most important steps for improving your lawn, garden, or landscape—but even the best lab can only give accurate recommendations if your sample is collected correctly. The quality of your soil test depends entirely on how you collect and handle the sample.
This guide will show you exactly how to take a soil sample that provides reliable results, whether you’re fertilizing a backyard lawn, vegetable bed, orchard, or ornamental landscape. Once you have the data, you can act with confidence using nutrient-specific products from Supply Solutions LLC.
Why Proper Soil Sampling Matters
Your soil may have very different conditions from one area to another. That’s why a single scoop from the surface of one spot won’t represent the whole area. A proper sample:
- Accurately reflects nutrient availability across the space
- Helps labs determine pH, organic matter, and fertilizer needs
- Prevents over- or under-applying nutrients
Skipping this step—or doing it wrong—can lead to poor recommendations and wasted money.
When to Collect a Soil Sample
The best times to sample your soil are:
- Early spring, before applying fertilizers
- Late fall, after your growing season ends
- Any time you’re starting a new garden or lawn
Avoid sampling right after fertilizer or compost application. Wait at least 4–6 weeks for an accurate reading.
Tools You’ll Need
- Clean plastic bucket (not metal)
- Soil probe, spade, or hand trowel
- Ziplock bag or soil sample box (provided by most labs)
- Permanent marker for labeling
Step-by-Step Instructions
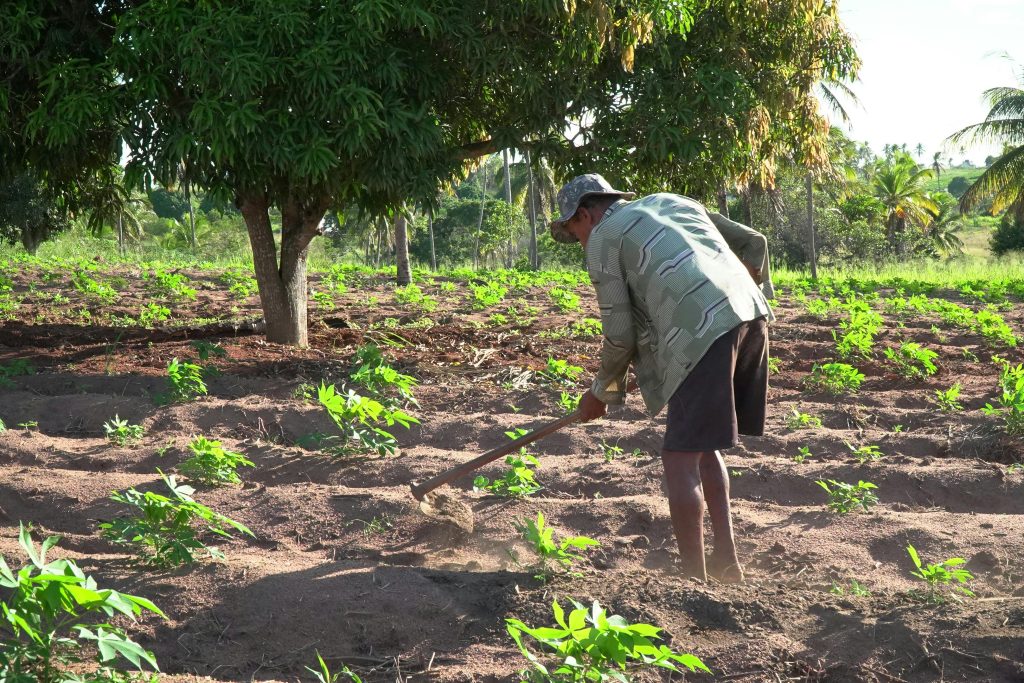
1. Identify the Sampling Area
Divide your yard or garden into zones based on:
- Plant type (e.g., vegetable beds, turfgrass, shrubs)
- Soil type or slope differences
- Previous fertilizer application patterns
Sample each area separately for accurate readings.
2. Collect Multiple Subsamples
- Take 5 to 10 small samples from each zone.
- Dig to a depth of:
- 4–6 inches for lawns
- 6–8 inches for garden beds
- 12 inches for orchards or deep-rooted crops
- Scrape away surface debris before sampling.
Combine all subsamples in your bucket to create a single, representative mix for that area.
3. Mix and Dry the Soil
- Mix the soil thoroughly in the bucket.
- Remove stones, roots, or debris.
- Let the soil air-dry at room temperature (don’t use heat or sunlight).
Damp soil can delay lab processing or skew results, so be sure it’s dry before packing.
4. Label and Submit
- Place about 1–2 cups of the mixed soil in a labeled plastic bag or sample box.
- Clearly mark:
- Your name
- Sample location (e.g., “Front Lawn”)
- Date of collection
Submit your sample to a trusted soil testing lab. Your local extension office or a private lab can help.
What the Lab Will Test For
Most soil tests will evaluate:
- Soil pH
- Organic matter (%)
- Macronutrients: Nitrogen (N), Phosphorus (P), Potassium (K)
- Secondary nutrients: Sulfur, Magnesium, Calcium
- Micronutrients: Iron, Zinc, Manganese, Copper, Boron
You can then use this report to create a customized fertilization plan using:
- Ammonium sulfate (21-0-0-24S) for nitrogen and pH correction
- Urea (46-0-0) for high-N needs
- Calcium nitrate (15.5-0-0) for fruiting crops
- 10-10-10 fish fertilizer with micros for balanced feeding
- 12-6-6 ornamental blend for vibrant flowers and shrubs
All of these are available from Supply Solutions LLC with expert guidance on how to apply them based on your test results.
Common Soil Sampling Mistakes to Avoid
- Using dirty or metal containers (can contaminate results)
- Sampling after fertilizer application
- Taking only one scoop instead of a composite sample
- Submitting wet soil
- Ignoring differences between planting zones
Example: Preparing to Plant a Summer Garden
Imagine you’re prepping a 20×10 ft vegetable garden. Here’s how to sample:
- Divide the space into two zones (sun vs. partial shade)
- Collect 6 samples per zone at 6–8 inch depth
- Mix and dry each zone’s samples separately
- Label as “Garden – Zone A” and “Garden – Zone B”
- Submit both for testing and receive separate nutrient plans
This precision approach helps you apply only the nutrients needed in each section.
Make Every Fertilizer Dollar Count
Collecting a soil sample takes just 30 minutes, but the insights can save you hundreds in fertilizer and plant losses. It’s the only way to ensure your plants get what they truly need.
Once you’ve tested your soil, visit Supply Solutions LLC for:
- Custom fertilizer solutions
- Product recommendations based on test results
- Reliable shipping and expert support
Have questions or need help with your soil sample? Contact us:
Test smarter, grow better—start with the soil.